
Since I created this project more than 6 years ago it has been built by literally hundreds of people. I have made PCBs available to those that wanted them and for the hardcore builder the schematic was available and they made their own implementation on stripboard. There are a number of write-ups online about the project and even a presentation was given by someone at a convention.
Over the years I have added features for either my own requirements or others asking. This round of updates covers two distinct areas with the first relating to features.
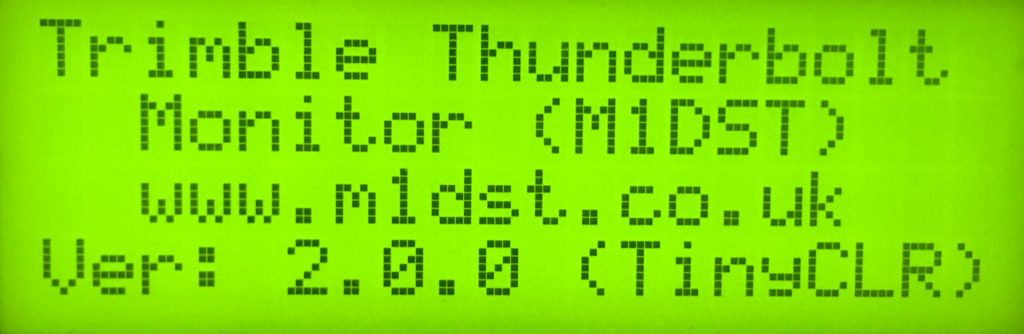
V1.1.0
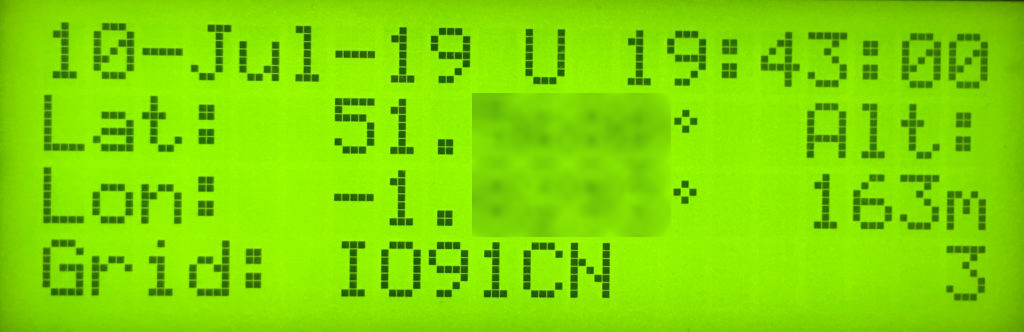
I have added four new screens which show additional information available from the Trimble Thunderbolt.
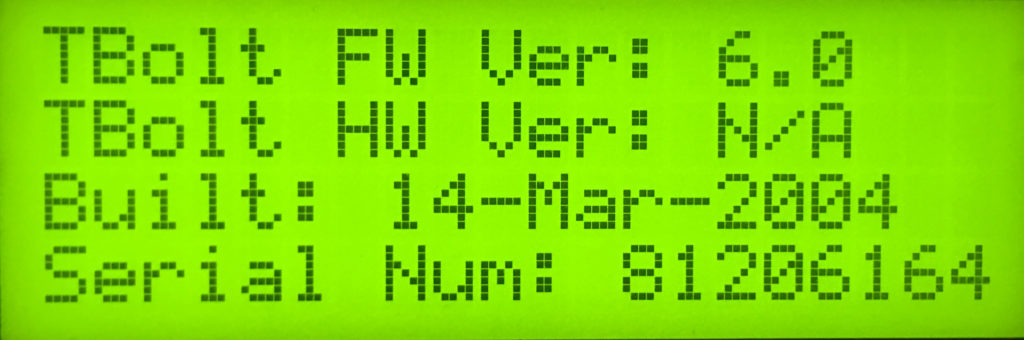
The first new screen is only available during startup and is displayed directly after the splash. You will briefly be shown the firmware and hardware versions of the connected Thunderbolt. You will also be shown the serial number. I also show the build date as it might be interesting to see how old your Trimble Thunderbolt actually is.
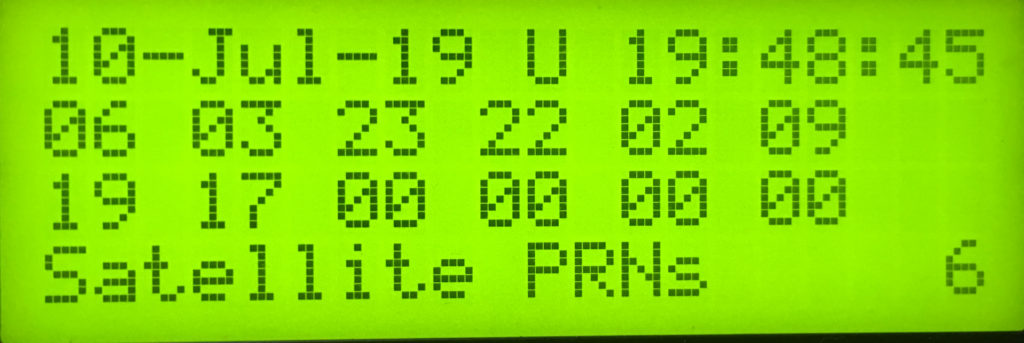
Screen five shows the status of each satellite, the signal strength and how many satellites are being used in a fix/tracked. The signal strength should be easy to understand. I take the reading from the Thunderbolt and map it directly to a number between 1 and 8. This draws a column chart similar to a strength meter you might find on a mobile phone interface.
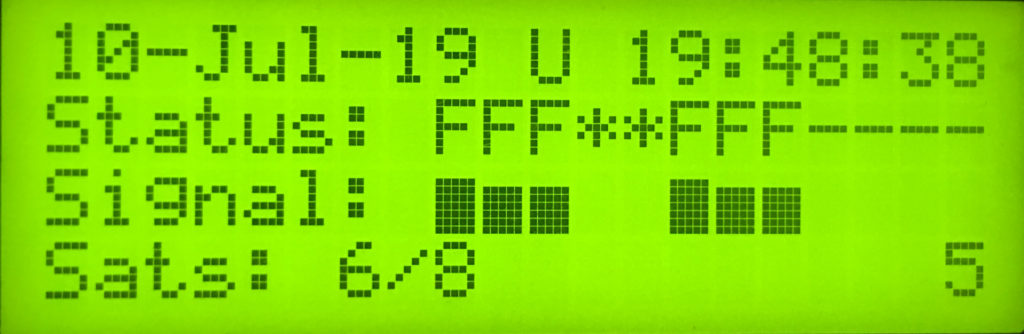
Each satellite is represented with a status. The statuses I am reporting are as follows:
- – = The default state, a placeholder if you like.
- D = Disabled
- F = Being used to calculate a fix.
- A = Acquired
- * = Reopened search
- T = Tracked
Screen six shows the PRNs of each satellite. GPS signal consists of a navigation message and PRN codes (C/A for civil and P-code for military) which is an identity for the satellite. PRN codes are also used to determine the range between the satellite and the receiver. The navigation message added on PRN code, must be known to find the position of GPS receiver on Earth. Identification of PRN code is the most important process to calculate the receiver’s position.
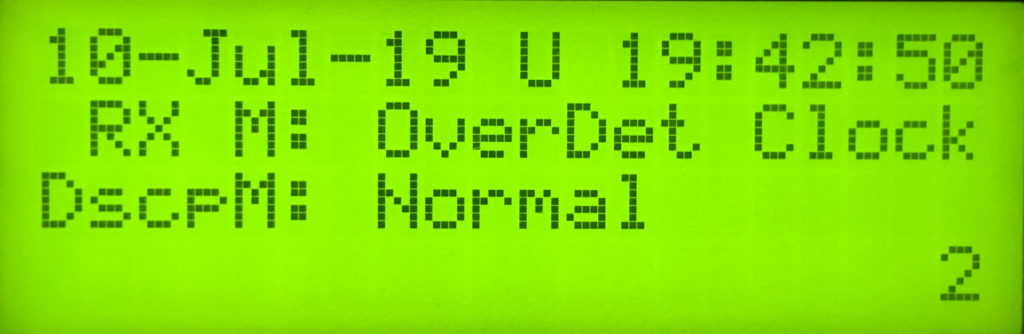
Screen seven shows you further precision information. We now show PDOP, TDOP, VDOP, HDOP.
PDOP (position dilution of precision) describes error caused by the relative position of the GPS satellites. Basically, the more signals a GPS receiver can “see” (spread apart versus close together), the more precise it can be.
From the observer’s point of view, if the satellites are spread apart in the sky, then the GPS receiver has a good PDOP.
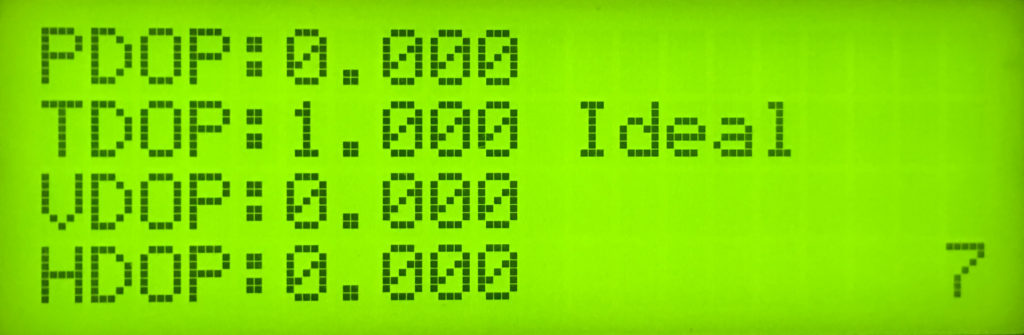
We display all the available values and give you a rough estimate as to if it is good or bad.
The code has also been refactored quite a bit to make some of it cleaner to read.
This set of updates (v1.1.0) have been made available on GitHub and will run on any of the available NETMF 4.3 boards such as Netduino. You just need to download the code, compile and deploy and you should have the new version running.
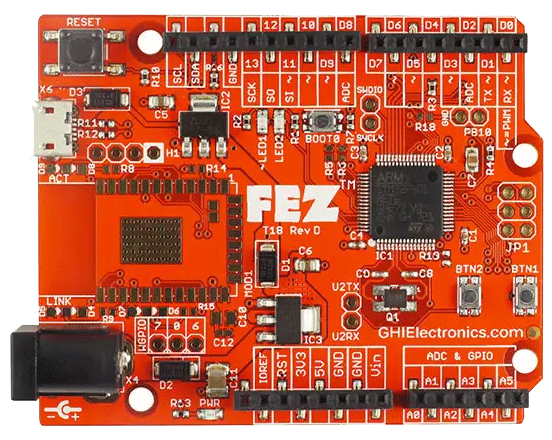
New Hardware Support, V2.0.0
I have heard a repeating thing from some builders over the years. Comments such as “I can’t find a Netduino”, “Netduinos are so expensive. Couldn’t you just rewrite this for Arduino?” I have put years of work into this project and to start again using the Arduino platform is just not an option for me.
I have however just ported the code to TinyCLR. TinyCLR OS is a modern, managed operating system that brings .NET to embedded devices. It offers garbage collection, threading, and full debugging which allows you to step through code and inspect variables. No costly debugging tools are necessary.
GHI have produced an Arduino compatible board which runs C# and only costs $10. Whilst this isn’t as cheap as the $3 Arduino clone from China, it is much cheaper than the Netduino and should hopefully reduce the barrier of entry for some people.
I purchased one of these boards and spent the day porting the code to TinyCLR rather than NETMF and have labeled it V2.0.0.
TinyCLR is used on the latest Visual Studio 2019 which is much easier for people to get installed. I might even be able to supply precompiled binaries to deploy without even having to install Visual Studio. I’ll investigate this further to see what is involved.
The features are identical to v1.1.0 except for the ability to see the uptime of the unit. I haven’t worked out how to invoke native code yet as uptime is not yet available in the managed libraries.
The other important thing to say is GHI have made TinyCLR available for a number of other boards including Netduinos. So if you have a compatible board, you could flash the bootloader and then flash the TinyCLR version of the code on.
I have not yet updated the instructions on how to flash the TinyCLR version yet, created a GitHub release or even updated the GitHub readme but I will get there eventually. Send me a pull request if you want to help.
All code is available at https://github.com/m1dst/Trimble-Thunderbolt-Monitor
This is all the news for now. If you have any thoughts, feedback or comments, send me a tweet or email.