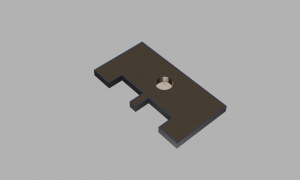
 Finally got around to uploading my Power Pole clamp STLs to Thingiverse.
I’ve created 2 and 3 wide versions. You can find the project files at https://www.thingiverse.com/thing:2643011
Finally got around to uploading my Power Pole clamp STLs to Thingiverse.
I’ve created 2 and 3 wide versions. You can find the project files at https://www.thingiverse.com/thing:2643011
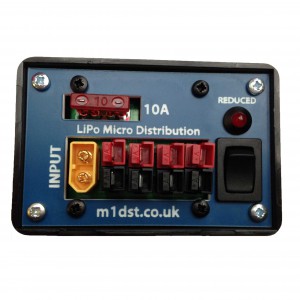
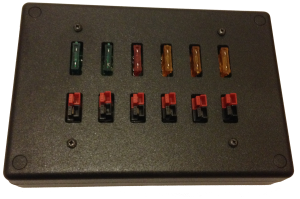
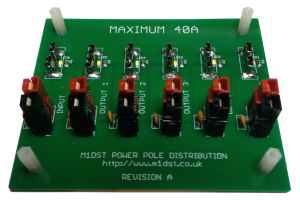
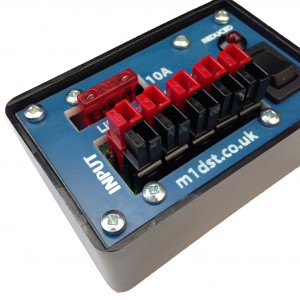 I’ve been working on a small Powerpole distribution unit to compliment the bigger brother already available. It is now possible to purchase it from http://www.m1dst.co.uk/shop/.
It is also available with the common XT60 connector.
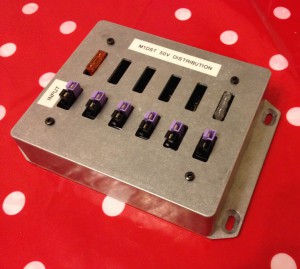
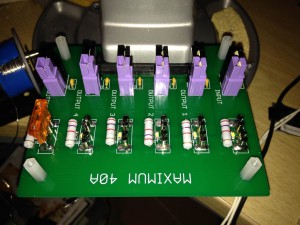
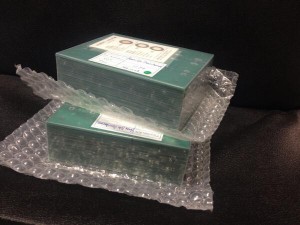
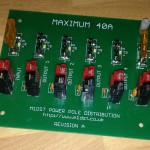
I’ve been selling these distribution boxes all over the world and have been really pleased with the interest. I decided I would build another one for myself for use with the 48v SSPAs I have. I uprated the resistors and the capacitors. Here is the finished result.
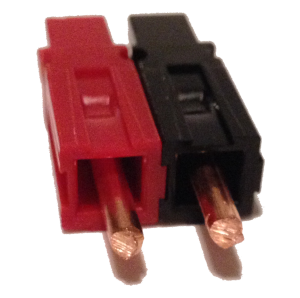
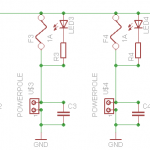
 A DIY DC distribution system based around the popular Anderson Powerpole connectors.
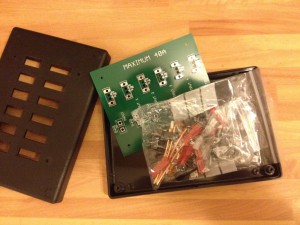
Ideal for amateur radio applications or even RC enthusiasts who wish to connect several batteries in parallel to charge. The kit contains everything you need to build the project including a professionally machined ABS enclosure.
You could mount one if these in the car, under your shack bench or include it in your “go” bag for portable use.
There is a single input fuse which if removed will isolate all other items connected from the power.
You will receive a PCB and all of the components required to populate it. You will receive a 4 page document explaining how to construct it. There is nothing complicated with building this and as long as you have a reasonably powerful soldering iron you should be fine.
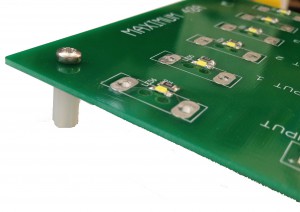
You will also receive an ABS enclosure and standoffs. The enclosure has been commercially machined so there is no work required from you.
£35 + postage
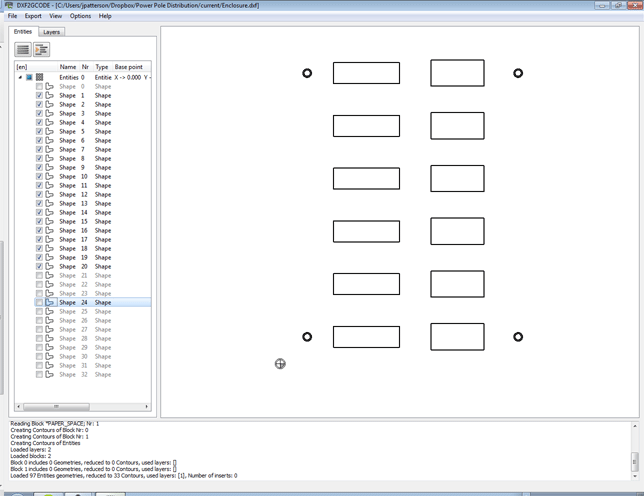
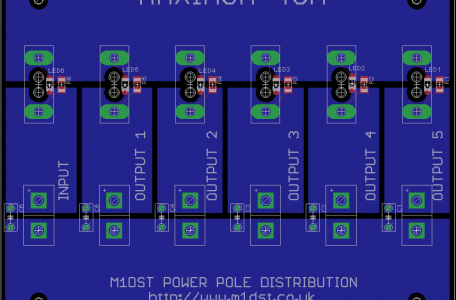
I created a template for the Power Pole enclosure using Eagle by adding all of the elements to a layer called milling. This meant I was able to precisely see where the cut-outs and holes should be milled out of the enclosure.
I exported to DXF from Eagle and tried to convert that to G-code but there must be something up with the export as most applications failed to read the file properly. To get around this I printed to a PDF and then imported the PDF into InkScape. I then resized the canvas to fit the import and saved that as a DXF file.
I then used dxf2gcode to convert the file to G-code. This worked pretty well. I then used a tool called OpenSCAM, an Open-Source software which can simulate 3-axis CNC machining to load and render the G-code file.
Now I have the G-code generated I just need to find the time to test the CNC machine I built for the first time.

 I have started to receive all the stock for 50 distribution boxes. The PCBs have arrived and the rest of the hardware will trickle in over the coming days.
I am now in a position to calculate the price of each unit and will do so over the next few days whilst writing the build instructions.
If you are interested in a unit (or more), please email me and I will then let you when I’ve posted the information.
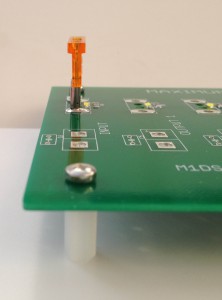
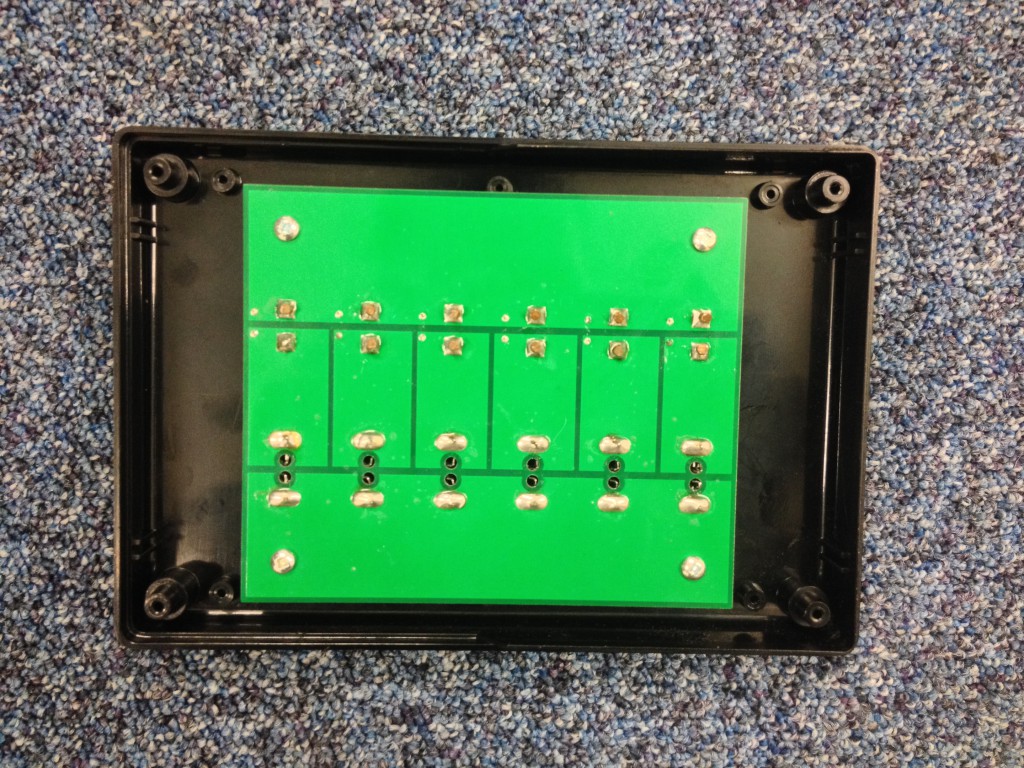
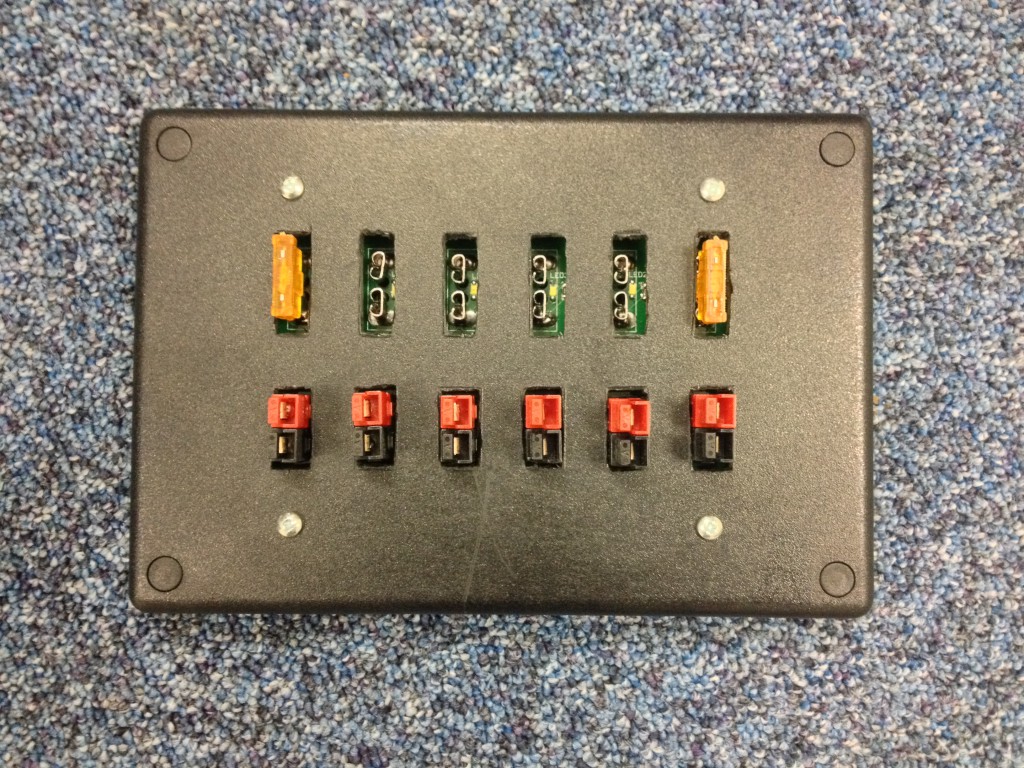
Yesterday afternoon I took my tools to a plastic enclosure to create a prototype for the Power Pole kit soon to be available. The results can be seen in the photos below.
I’ll post a video soon with a demo of the unit.
Having decided to standardise on the Anderson Power Pole connector I realised I would need some kind of distribution system. I didn’t want to pay the amount of money being asked for the RigRunner series so looked around the web to see if others were home brewing.