If you missed out on the kits I was producing fear not as I have had a run of PCBs made and these are available from my shop. http://www.m1dst.co.uk/shop/
13
MayIf you missed out on the kits I was producing fear not as I have had a run of PCBs made and these are available from my shop. http://www.m1dst.co.uk/shop/
I have completely sold out of all of the monitors again. I have agreed to provide a PCB to someone who was too late to purchase a kit and he is going to source his own components. Once the PCBs arrive I will list them in my shop for purchase.
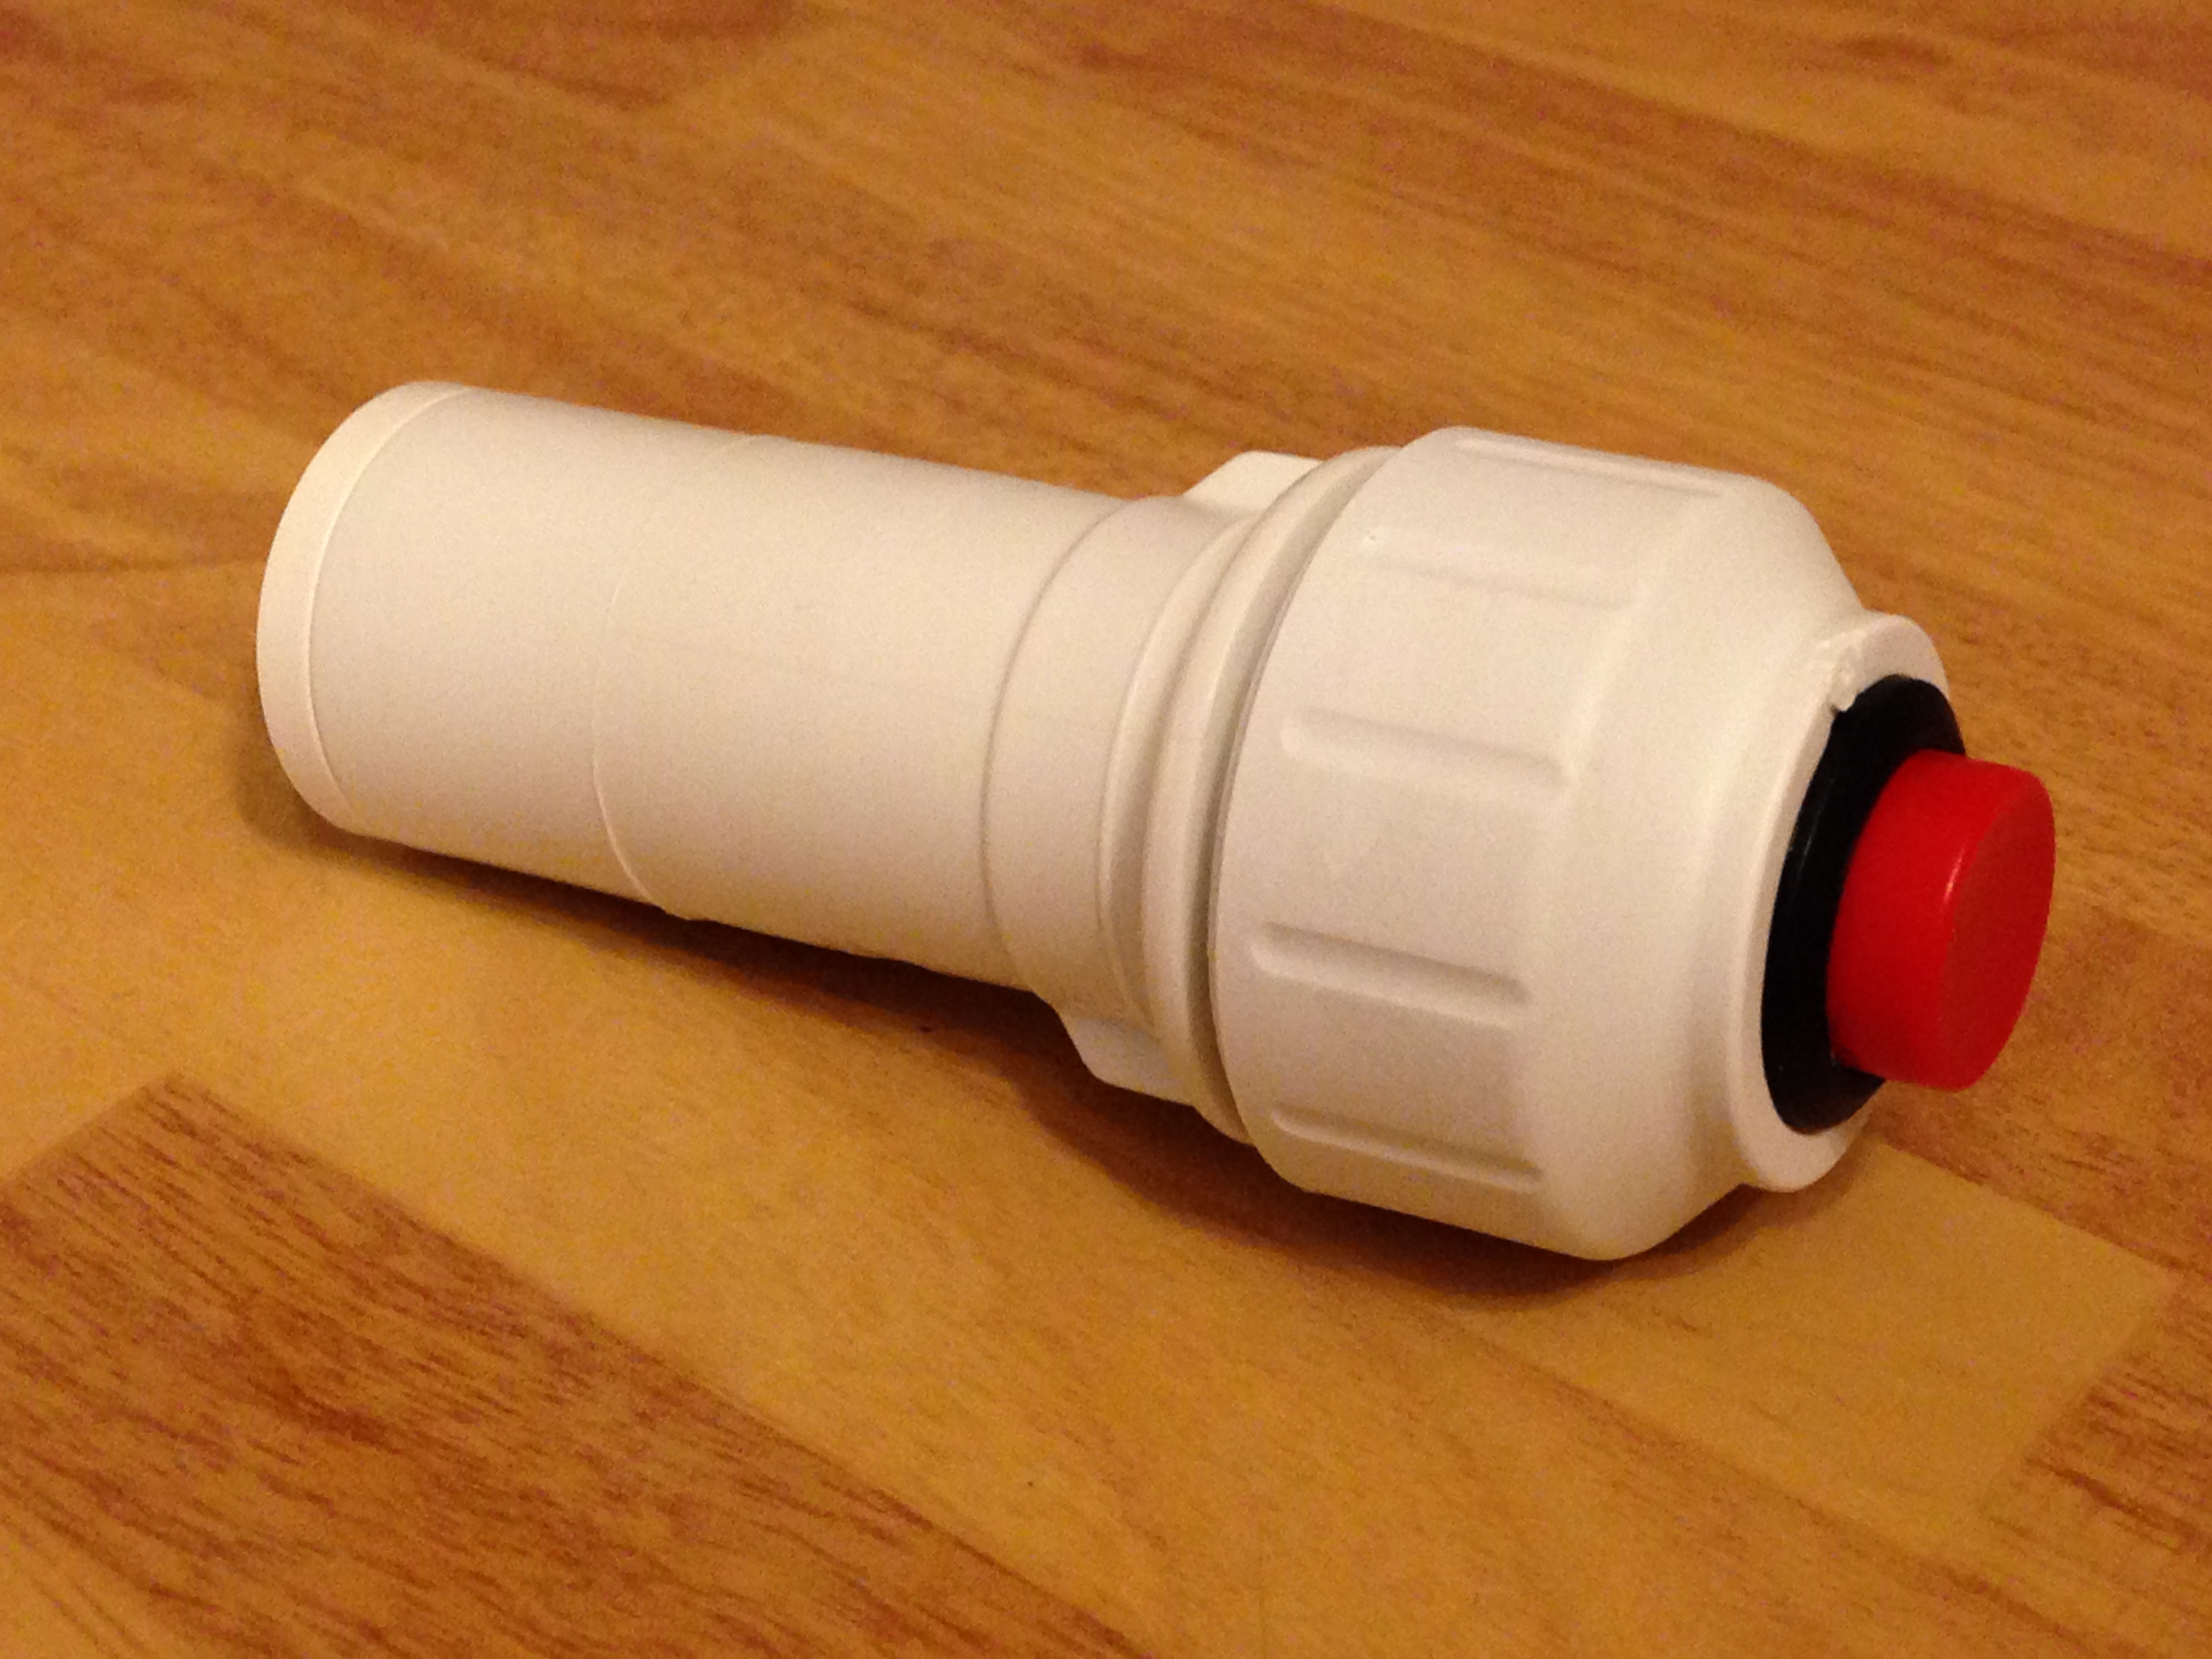
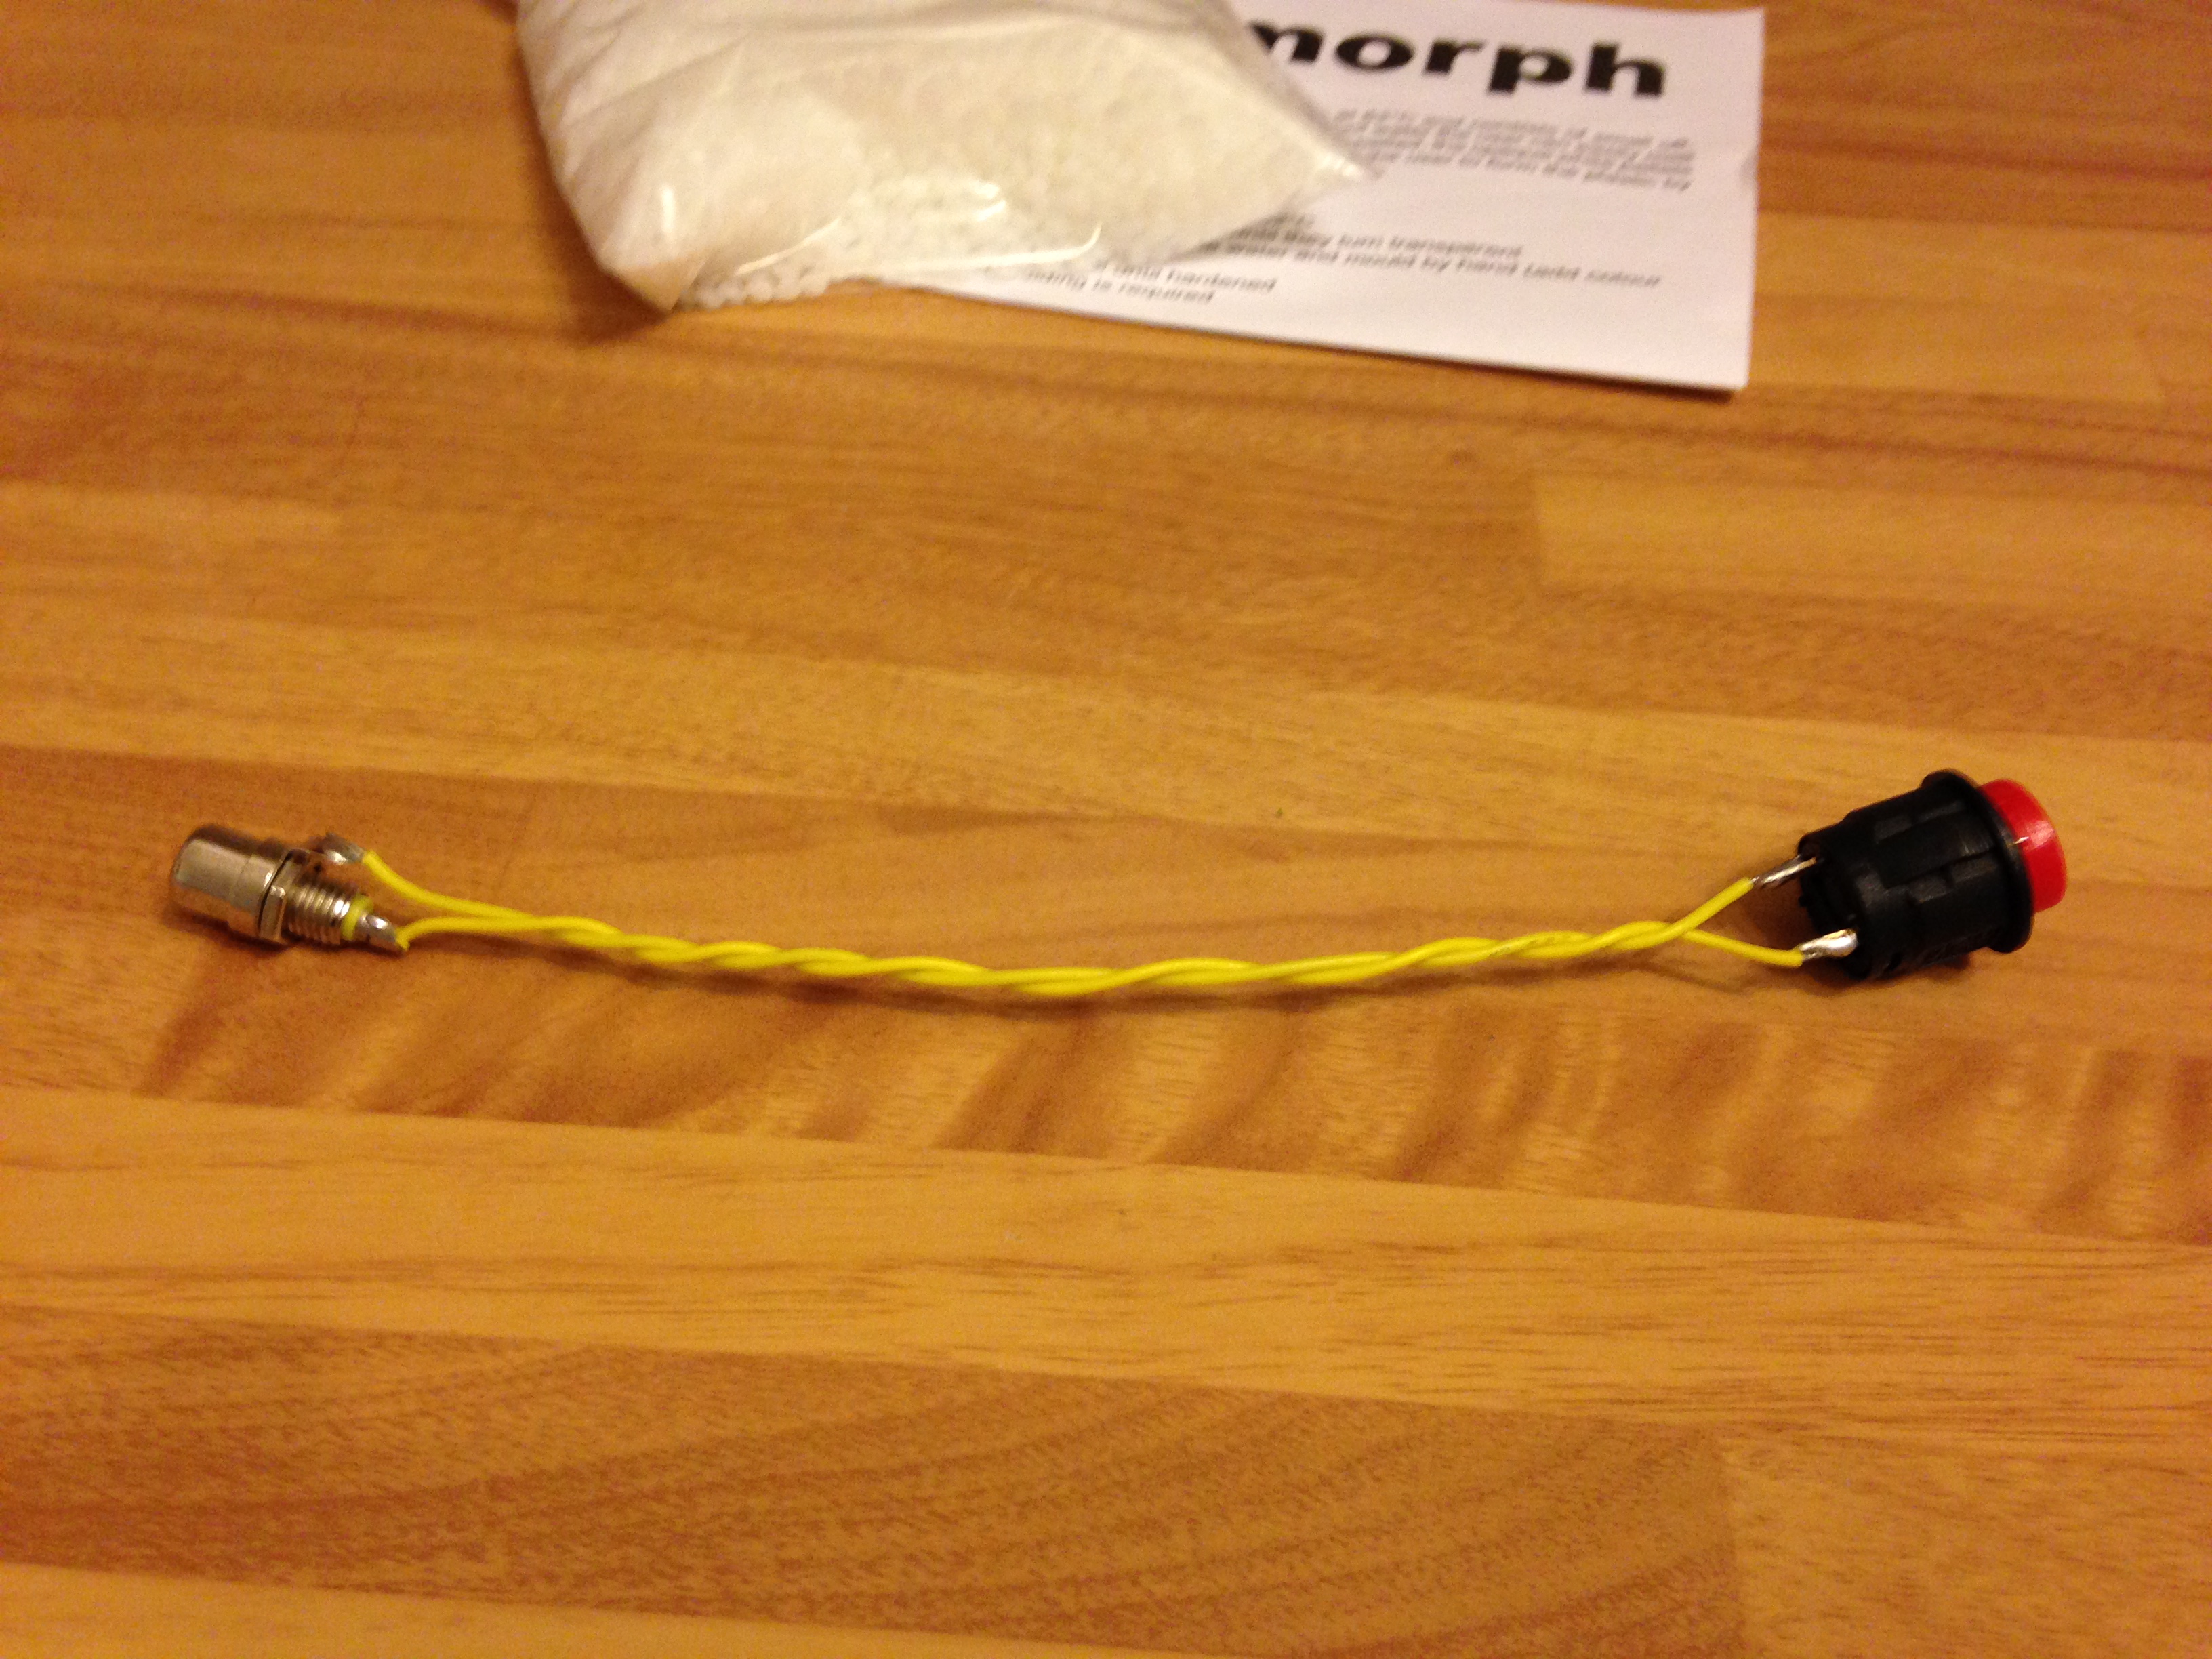
 This evening I built a handheld PTT switch to use whilst portable with a headset as a footswitch isn’t always practical. I have large hands so it is still possible for me to hold the switch and type on a keyboard to log the QSO.
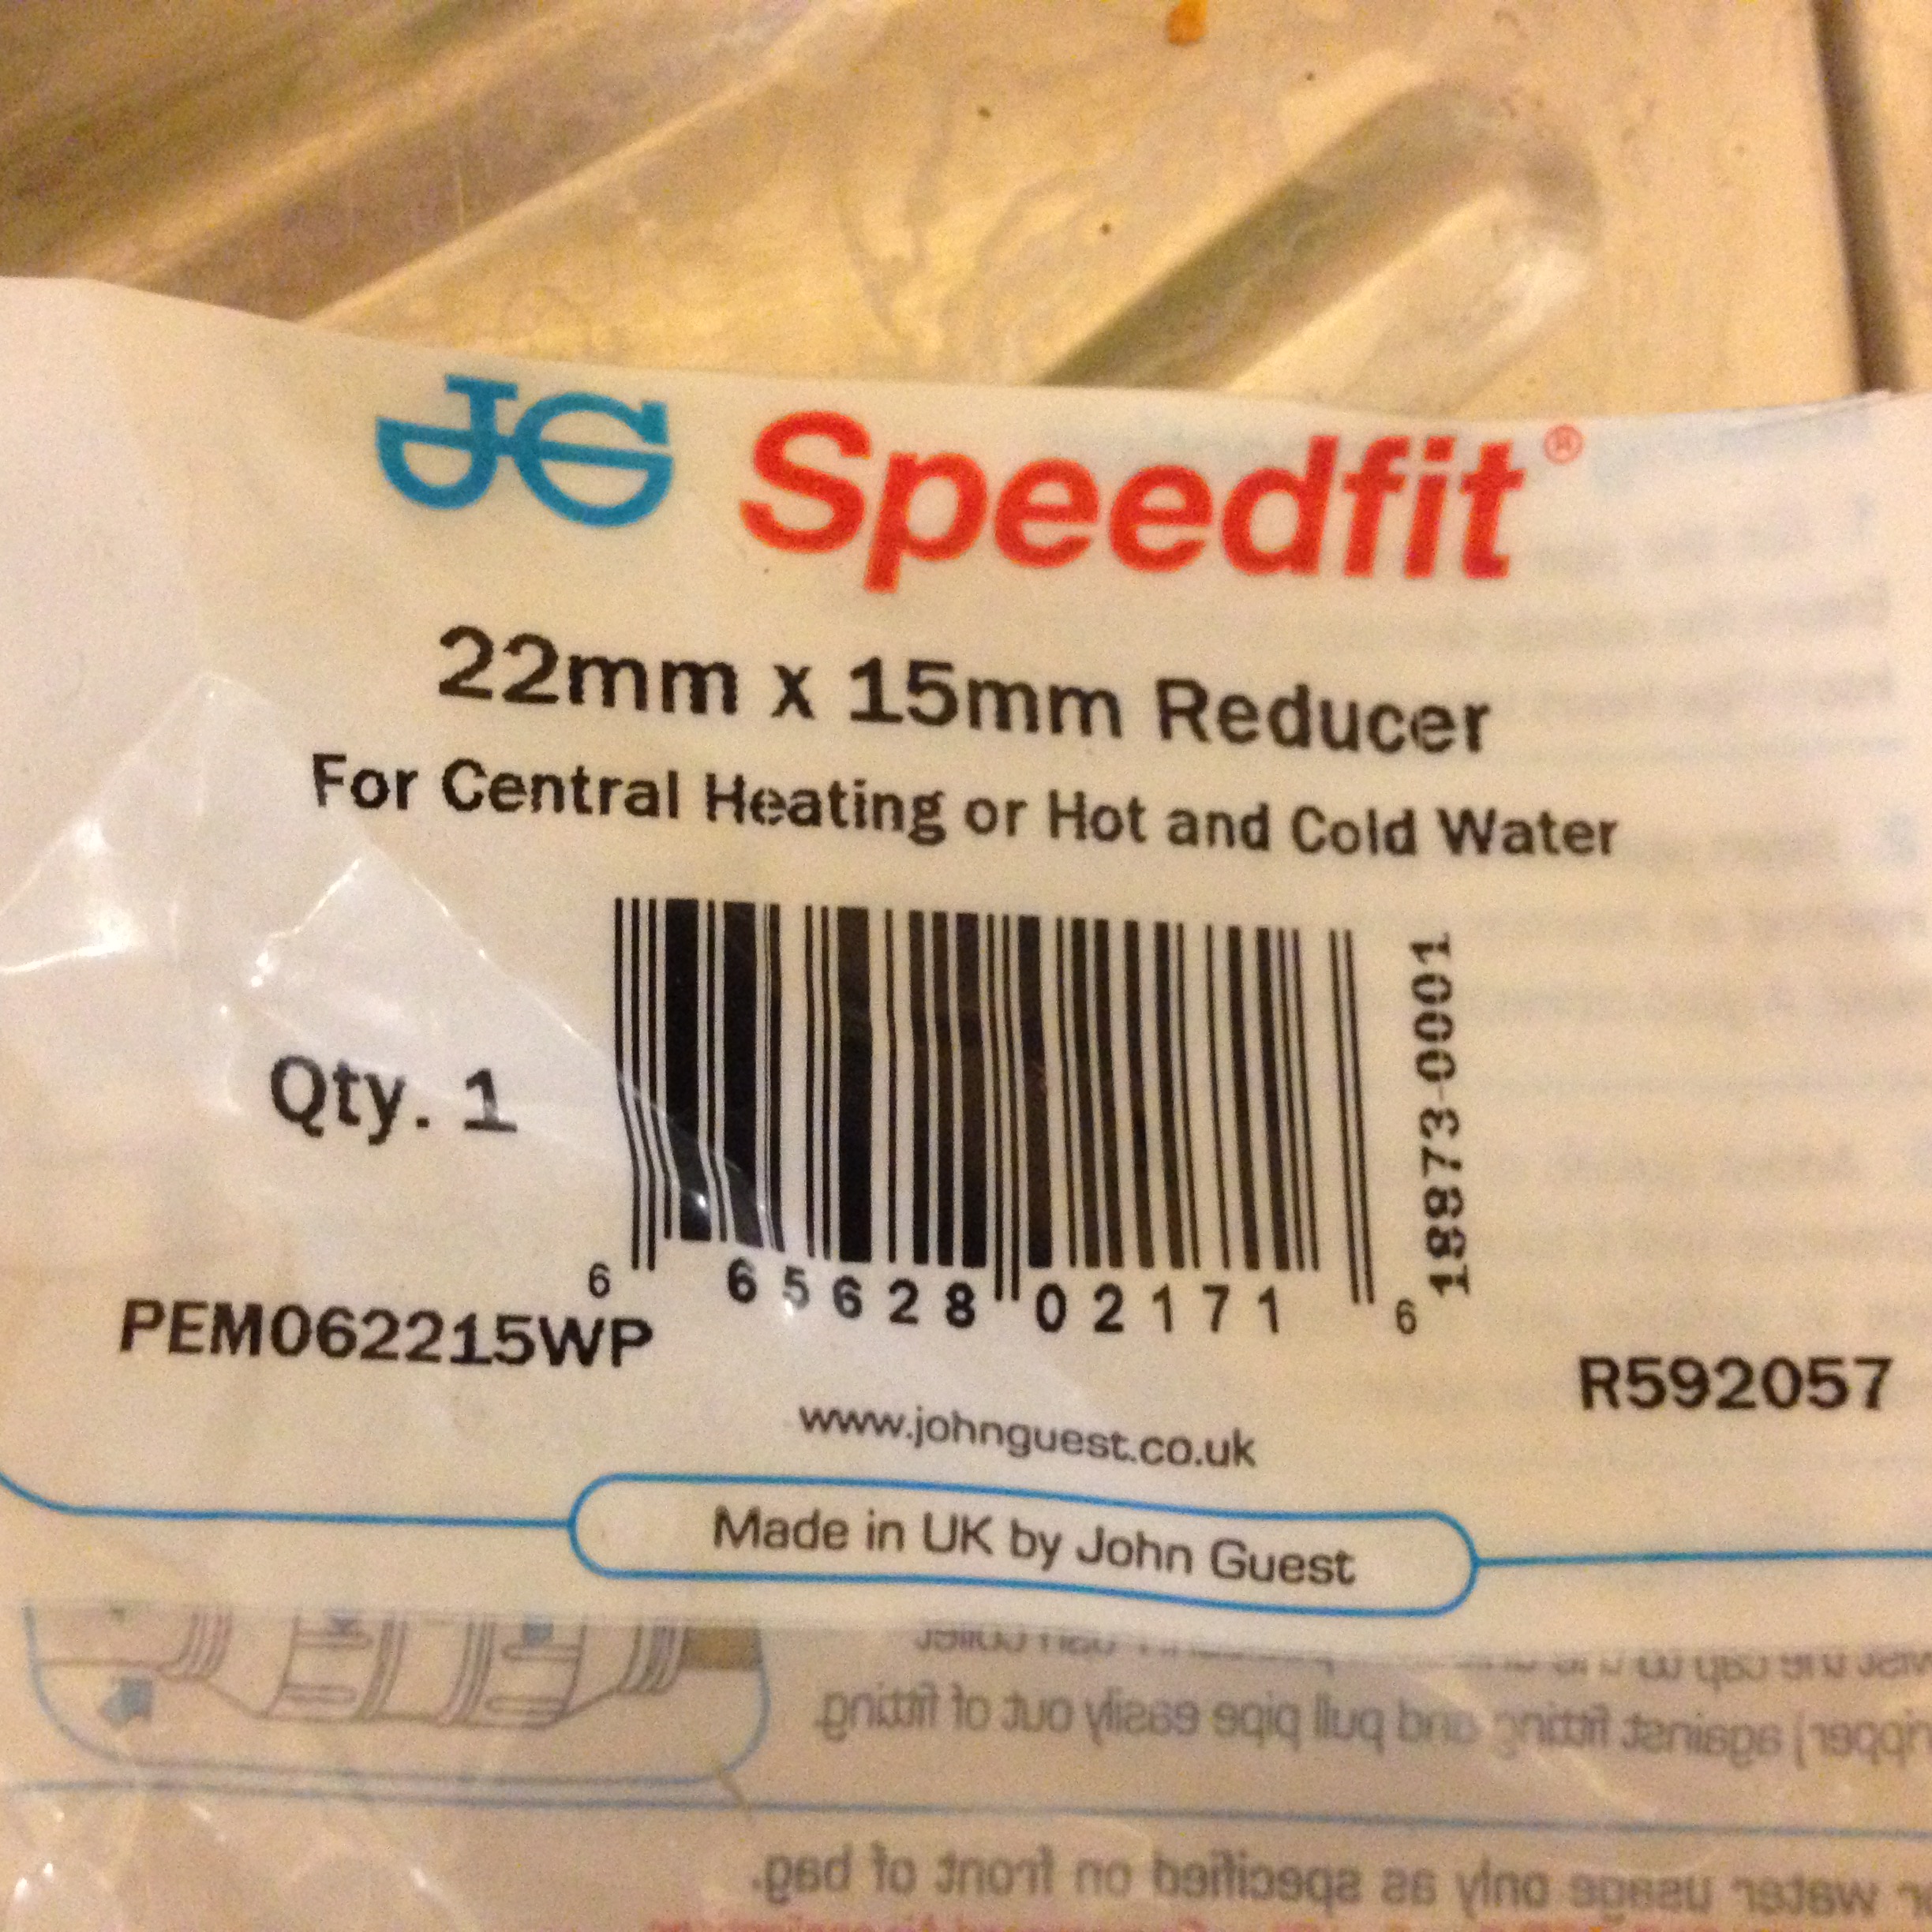
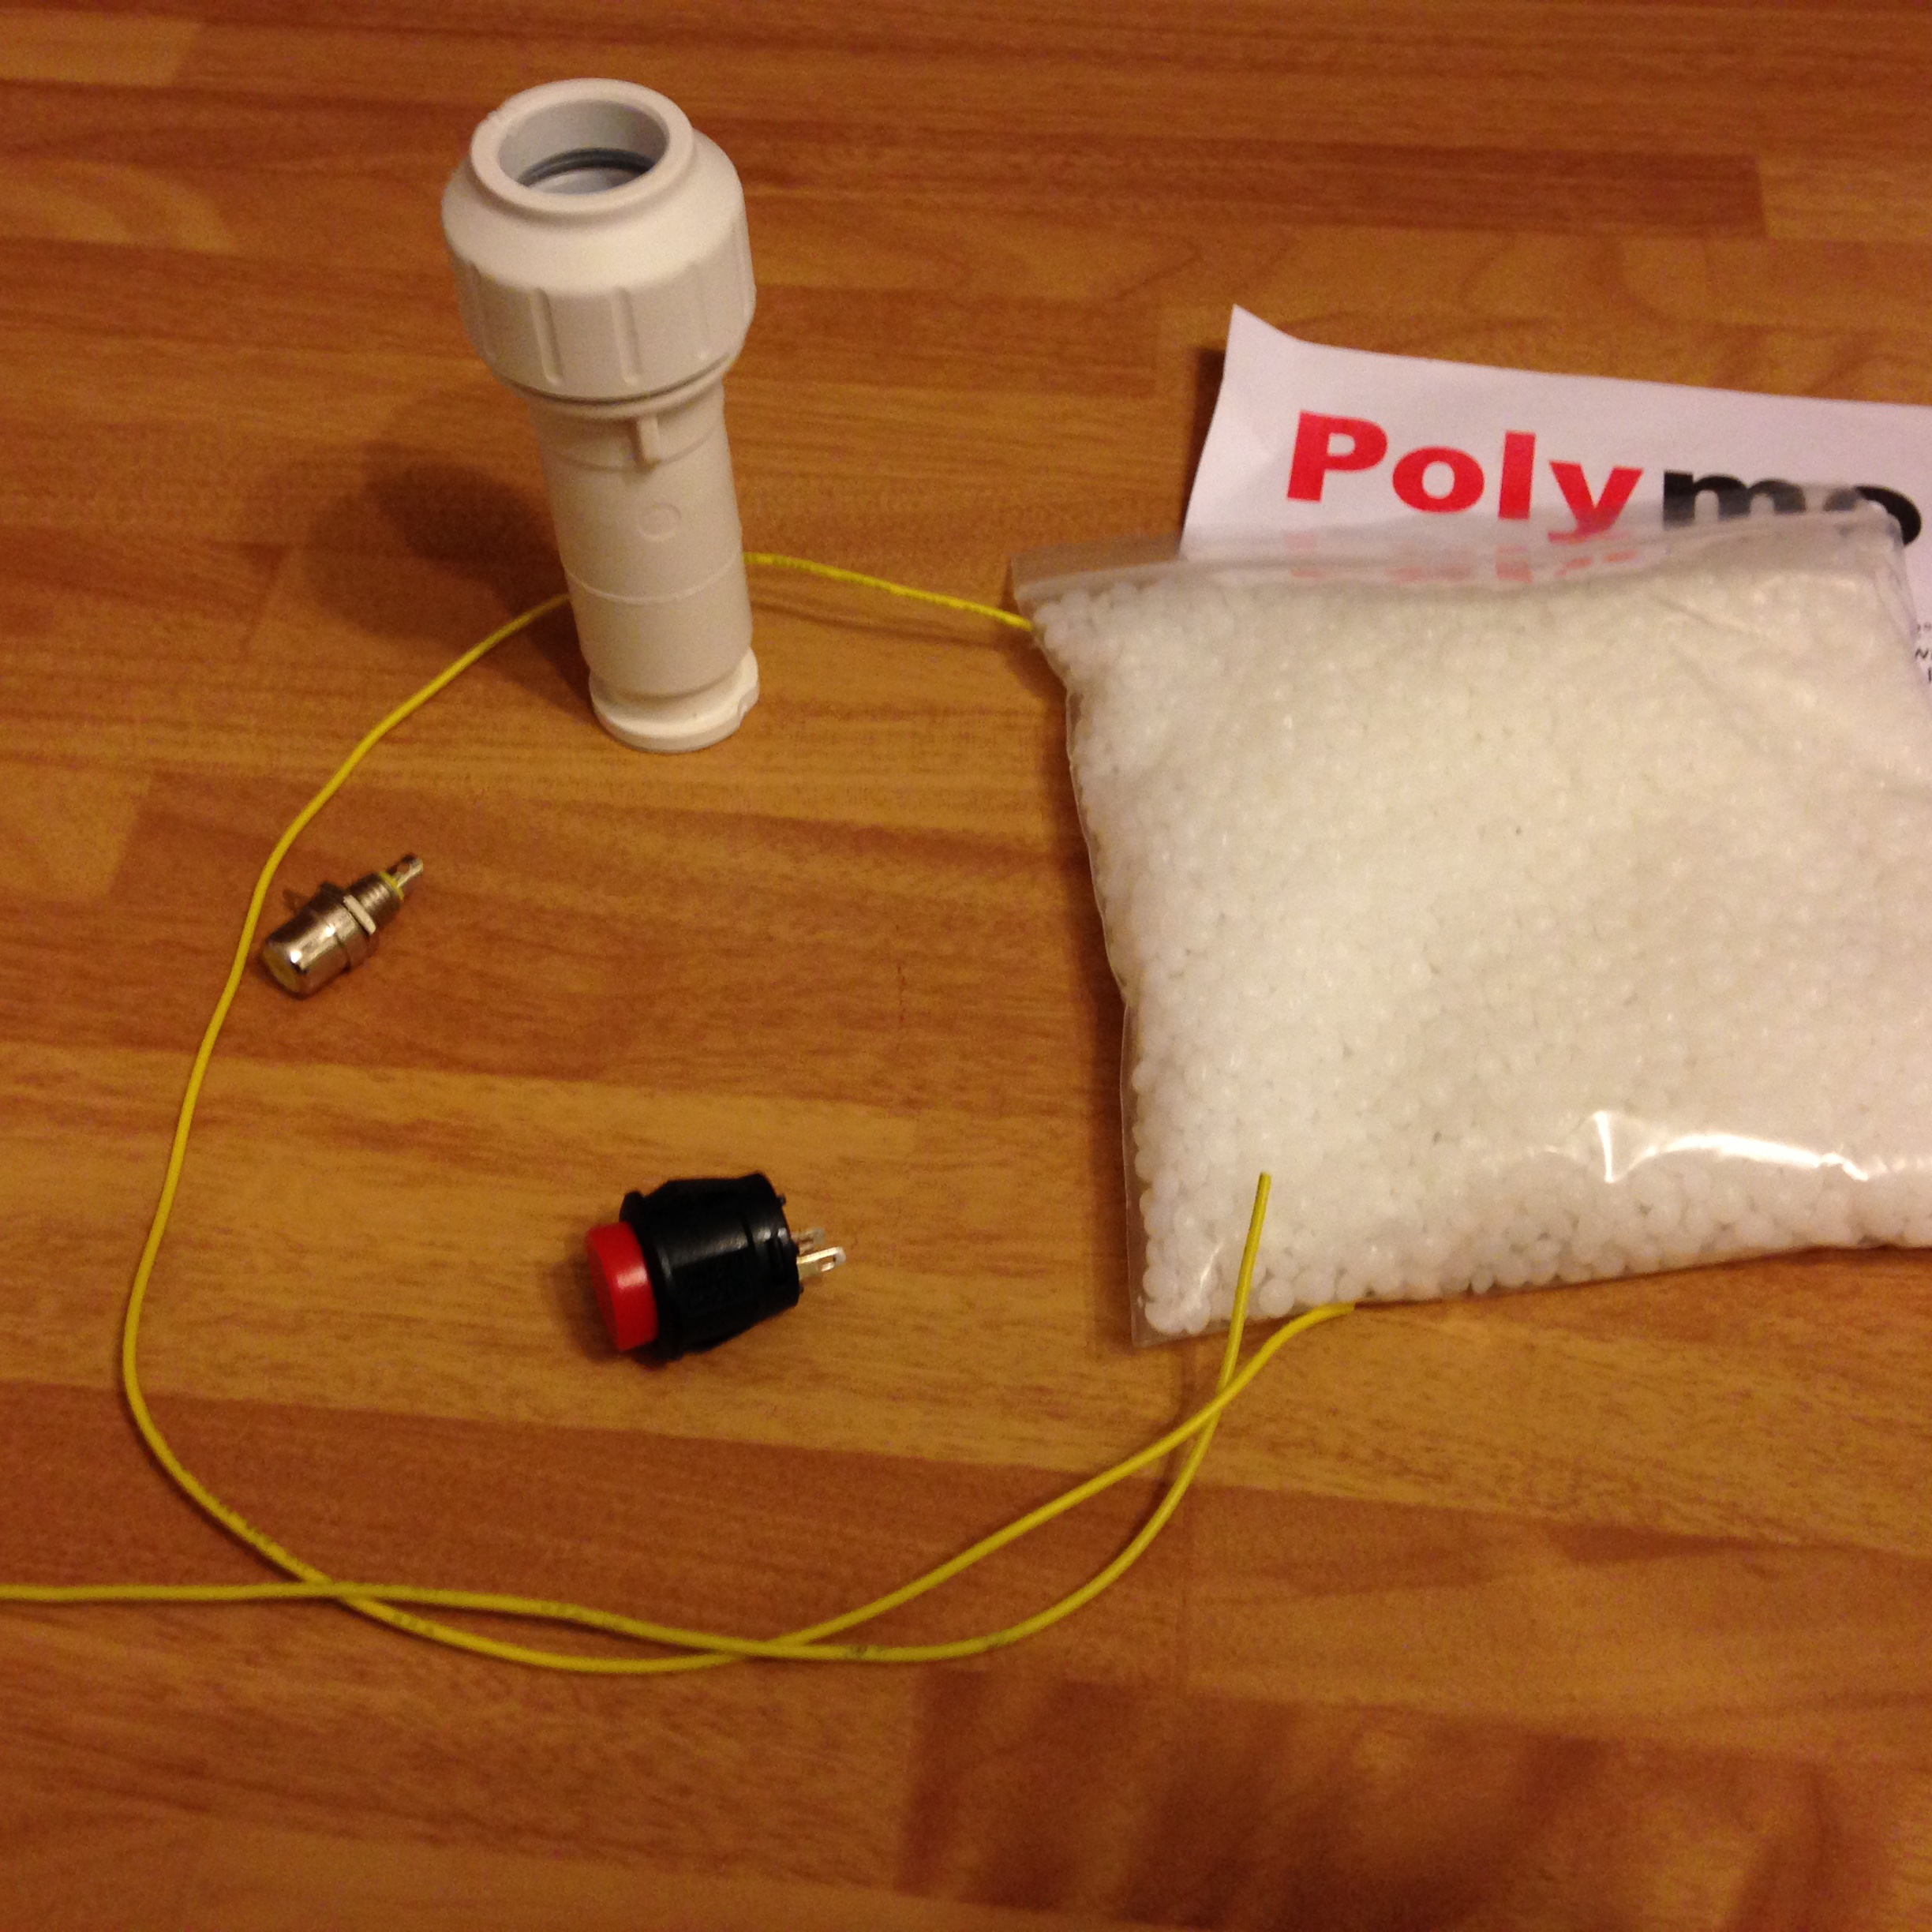
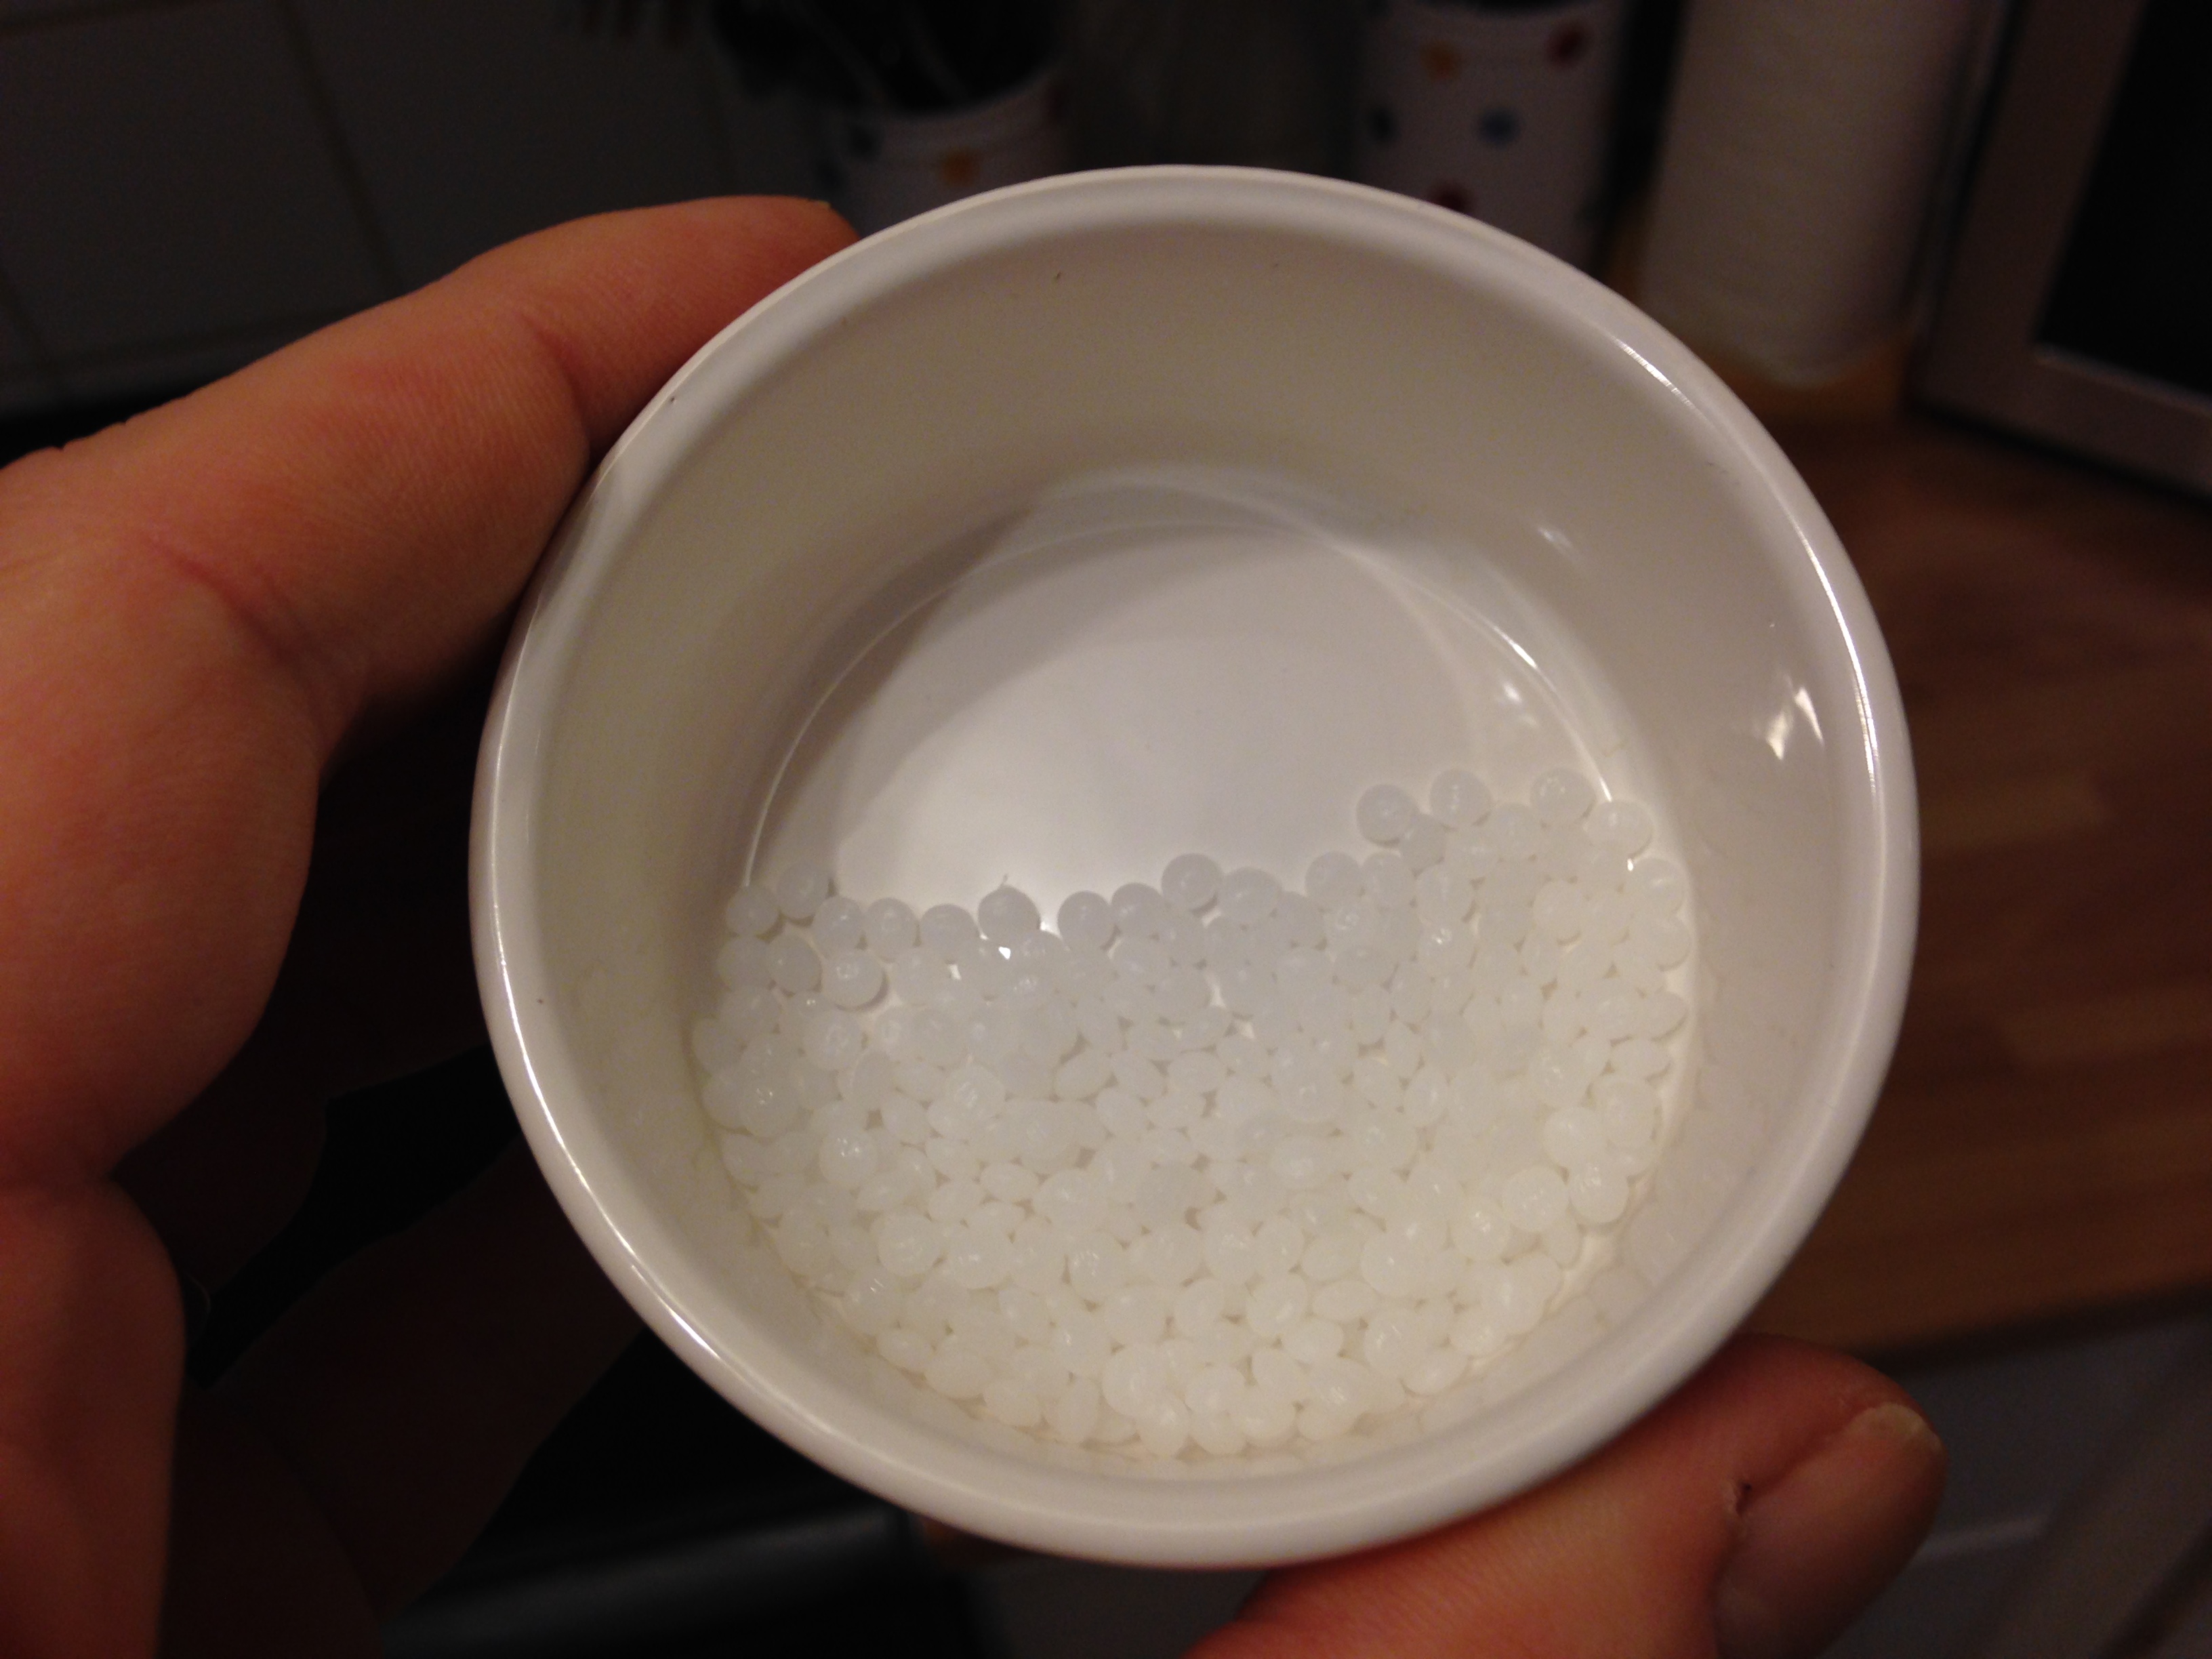
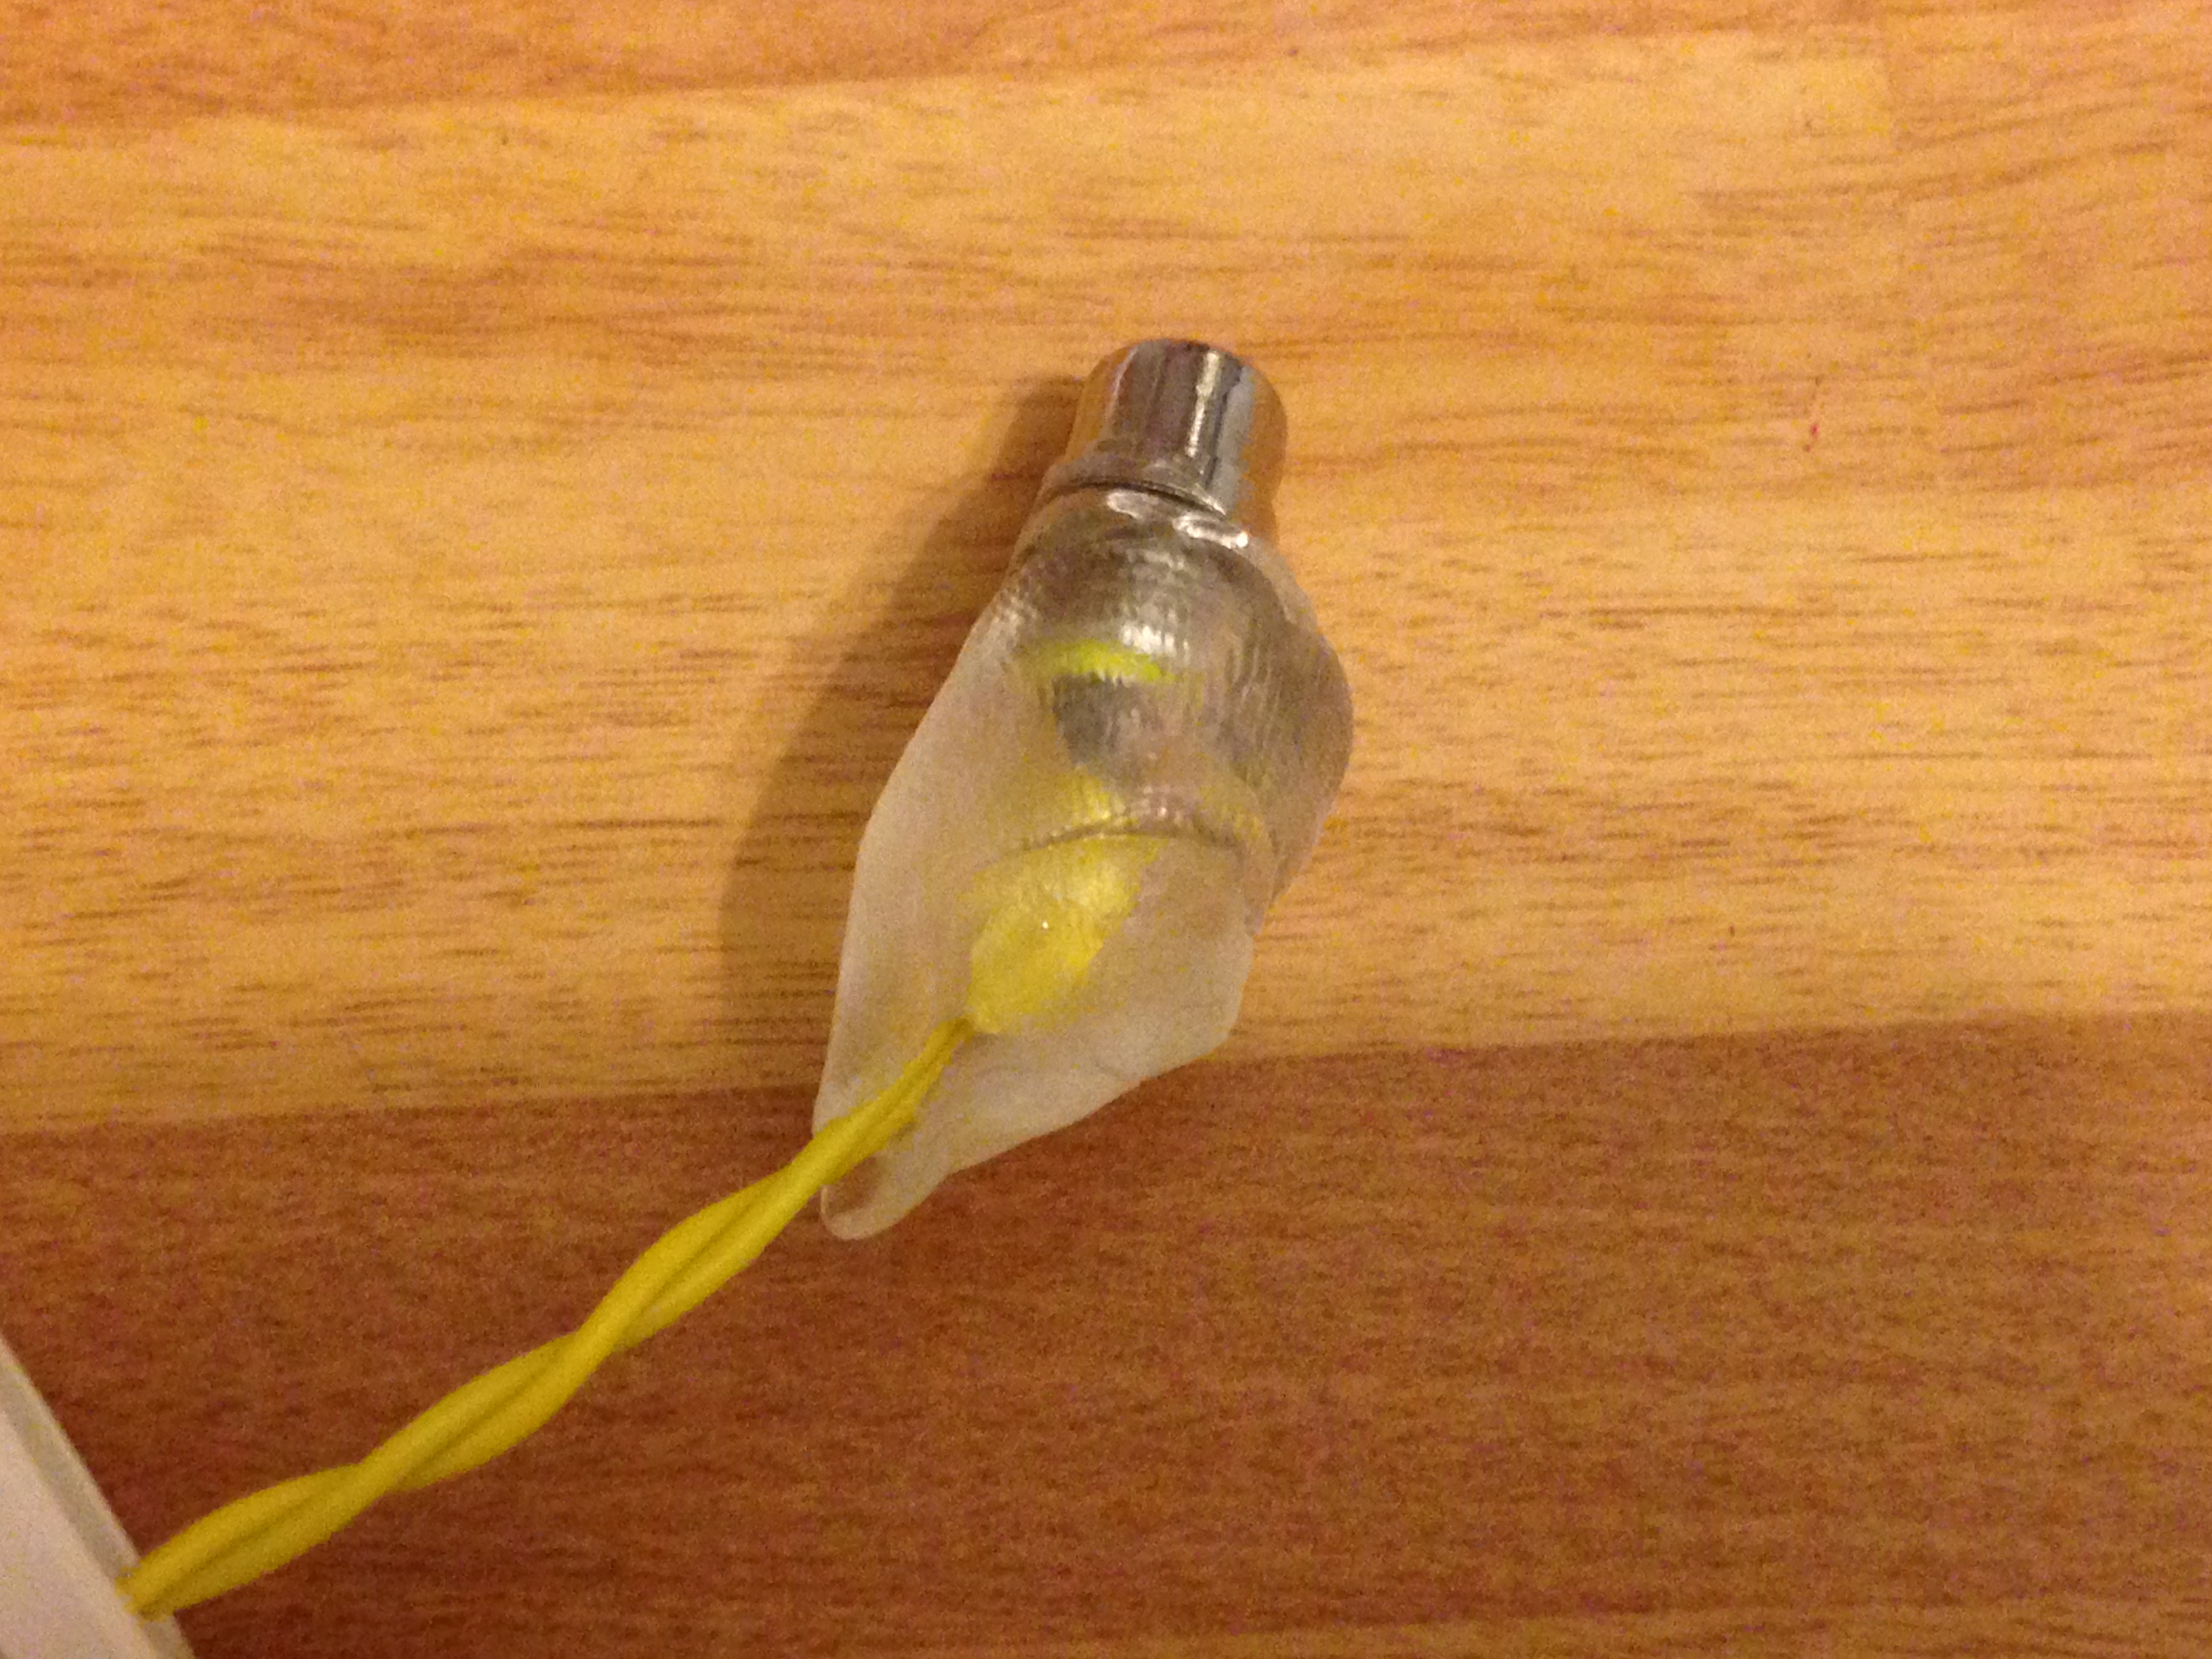
I decided to build one as commercial units can be expensive. I purchased a few parts and estimate the entire build cost less than £5. I used a Speedfit 22mm x 15mm reducer as the main unit and added a switch and a chassis mounted phono socket. To hold the phono socket in place I used a material called PolyMorph.
Polymorph is a thermoplastic polymer which melts at 62°C and consists of small off-white plastic granules. By heating these granules in hot water the user can easily melt the pellets to form a transparent flexible material. Once melted the opaque white pellets fuse together, become transparent and soften, allowing the user to form the plastic by hand into unique shapes. Once it cools it becomes solid and hard again.
The whole project took about 10 minutes from start to finish to complete and is very robust. Now I need to find other things to do with the PolyMorph as it was fun to use.


 I’m pleased to say that the last two Thunderbolt Monitors were shipped today. There are none left and as such I will be removing it from the store.
If you would still like one you have a couple of options.
1) Visit github and download the Eagle files, gerber and source and create the PCB yourself.
2) Email me stating how many you want and I will add you to a waiting list. When/if I get a request for 10 (or more) then I will put an order in for all of the parts including PCB and LCD. It may take a very long time to reach 10 people now that Thunderbolts have become much rarer.
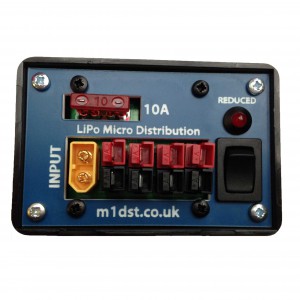
 I’ve been working on a small Powerpole distribution unit to compliment the bigger brother already available. It is now possible to purchase it from http://www.m1dst.co.uk/shop/.
It is also available with the common XT60 connector.
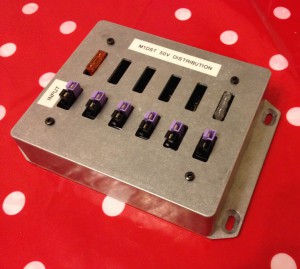
I’ve been selling these distribution boxes all over the world and have been really pleased with the interest. I decided I would build another one for myself for use with the 48v SSPAs I have. I uprated the resistors and the capacitors. Here is the finished result.

Last week I installed a bandpass filter which I purchased from http://www.fmbroadcastparts.com/ into my 500w SSPA.
Its design is optimised for use with 600W & 800W & 1KW pallet amplifiers and can be mounted on the same heat sink as the pallet. I bolted mine on the front panel of the linear which is made of aluminium.
Only first class RF Microwave components are used on a silver plated Rogers Teflon PCB with silver plated copper inductors and Teflon PCB capacitors are used to minimize internal loss and best possible harmonic suppression.
Although available in 2 versions, coaxial connections or N female connectors, I chose to use the coaxial connection version.
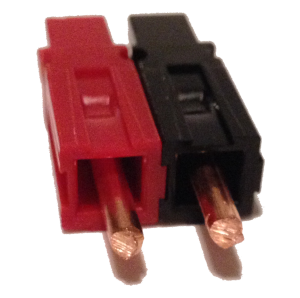
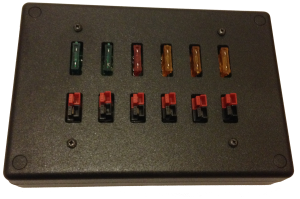 A DIY DC distribution system based around the popular Anderson Powerpole connectors.
Ideal for amateur radio applications or even RC enthusiasts who wish to connect several batteries in parallel to charge. The kit contains everything you need to build the project including a professionally machined ABS enclosure.
You could mount one if these in the car, under your shack bench or include it in your “go” bag for portable use.
There is a single input fuse which if removed will isolate all other items connected from the power.
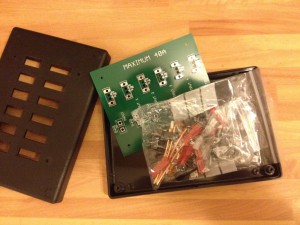
You will receive a PCB and all of the components required to populate it. You will receive a 4 page document explaining how to construct it. There is nothing complicated with building this and as long as you have a reasonably powerful soldering iron you should be fine.
You will also receive an ABS enclosure and standoffs. The enclosure has been commercially machined so there is no work required from you.
£35 + postage
It’s taken just over a month for all the parts to arrive but I can now confirm that I have a number of kits available for purchase and immediate shipment.
You can find them in the store at http://www.m1dst.co.uk/shop/thunderbolt-monitor-kit/
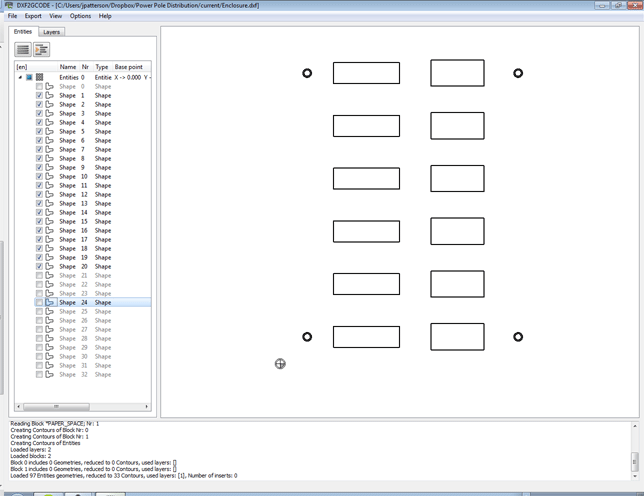
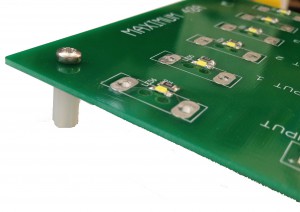
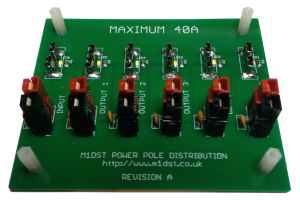
I created a template for the Power Pole enclosure using Eagle by adding all of the elements to a layer called milling. This meant I was able to precisely see where the cut-outs and holes should be milled out of the enclosure.
I exported to DXF from Eagle and tried to convert that to G-code but there must be something up with the export as most applications failed to read the file properly. To get around this I printed to a PDF and then imported the PDF into InkScape. I then resized the canvas to fit the import and saved that as a DXF file.
I then used dxf2gcode to convert the file to G-code. This worked pretty well. I then used a tool called OpenSCAM, an Open-Source software which can simulate 3-axis CNC machining to load and render the G-code file.
Now I have the G-code generated I just need to find the time to test the CNC machine I built for the first time.